Rated 4.9/5

by NYC Businesses
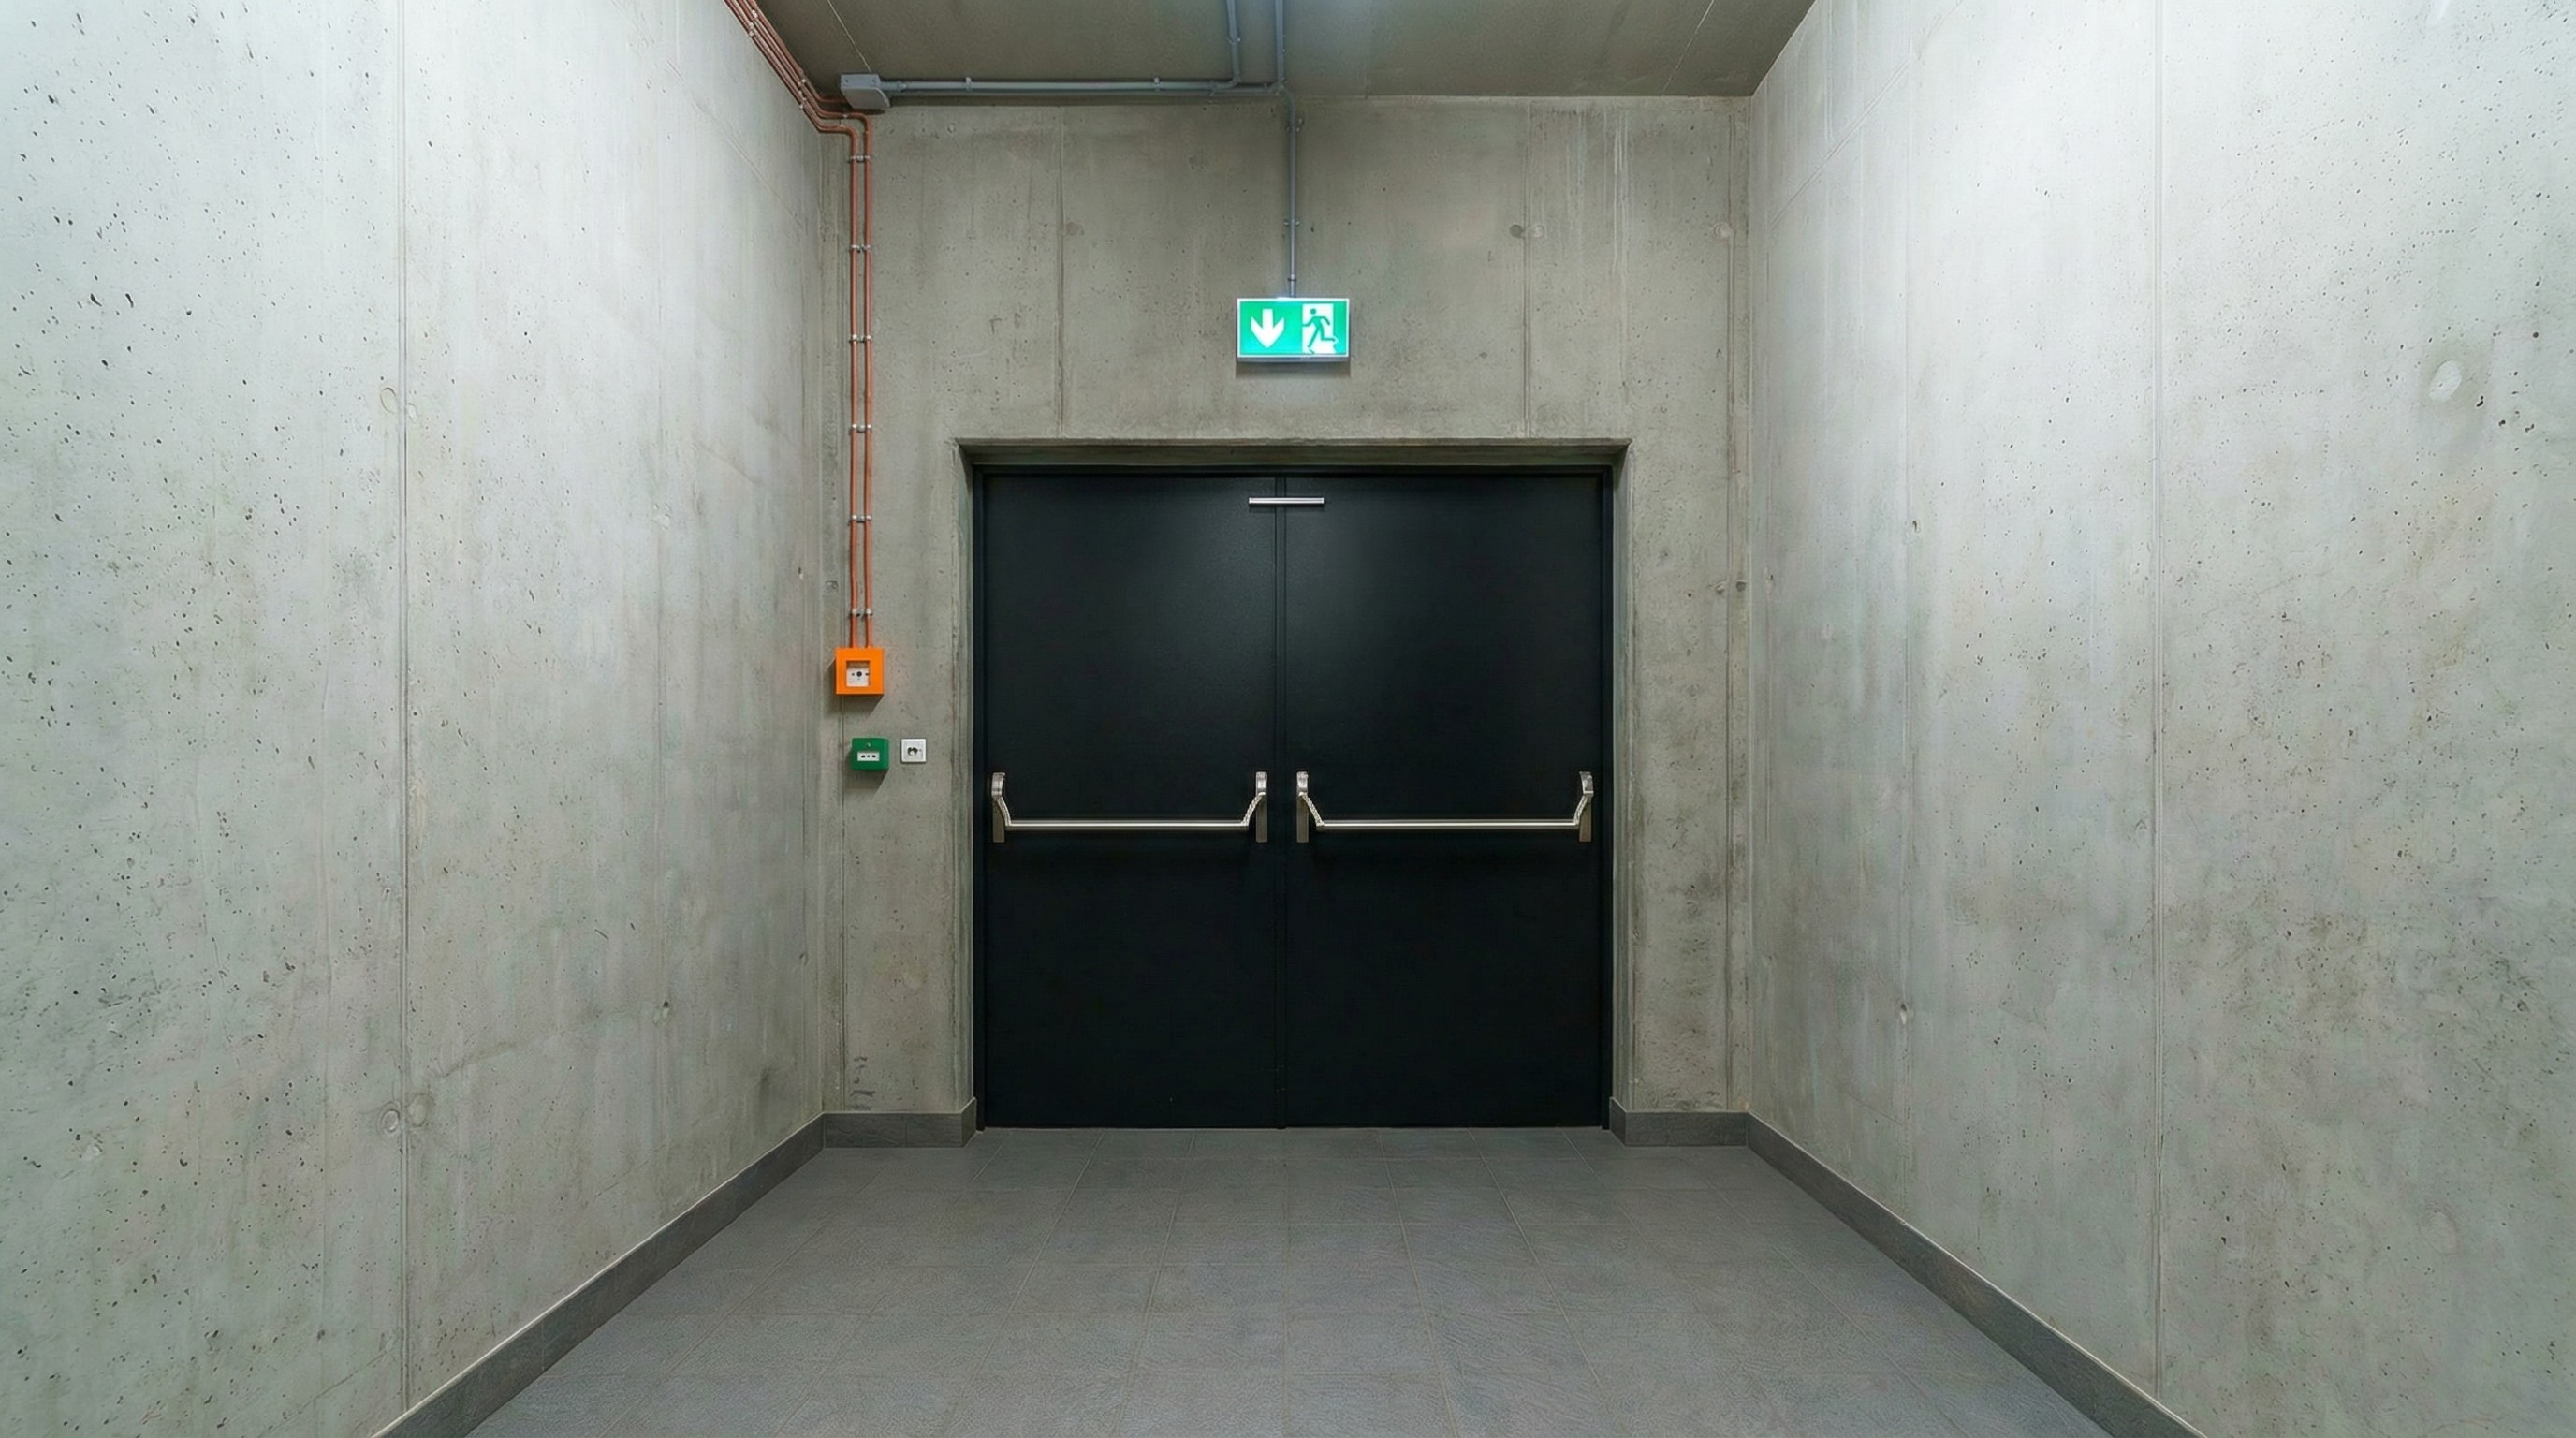
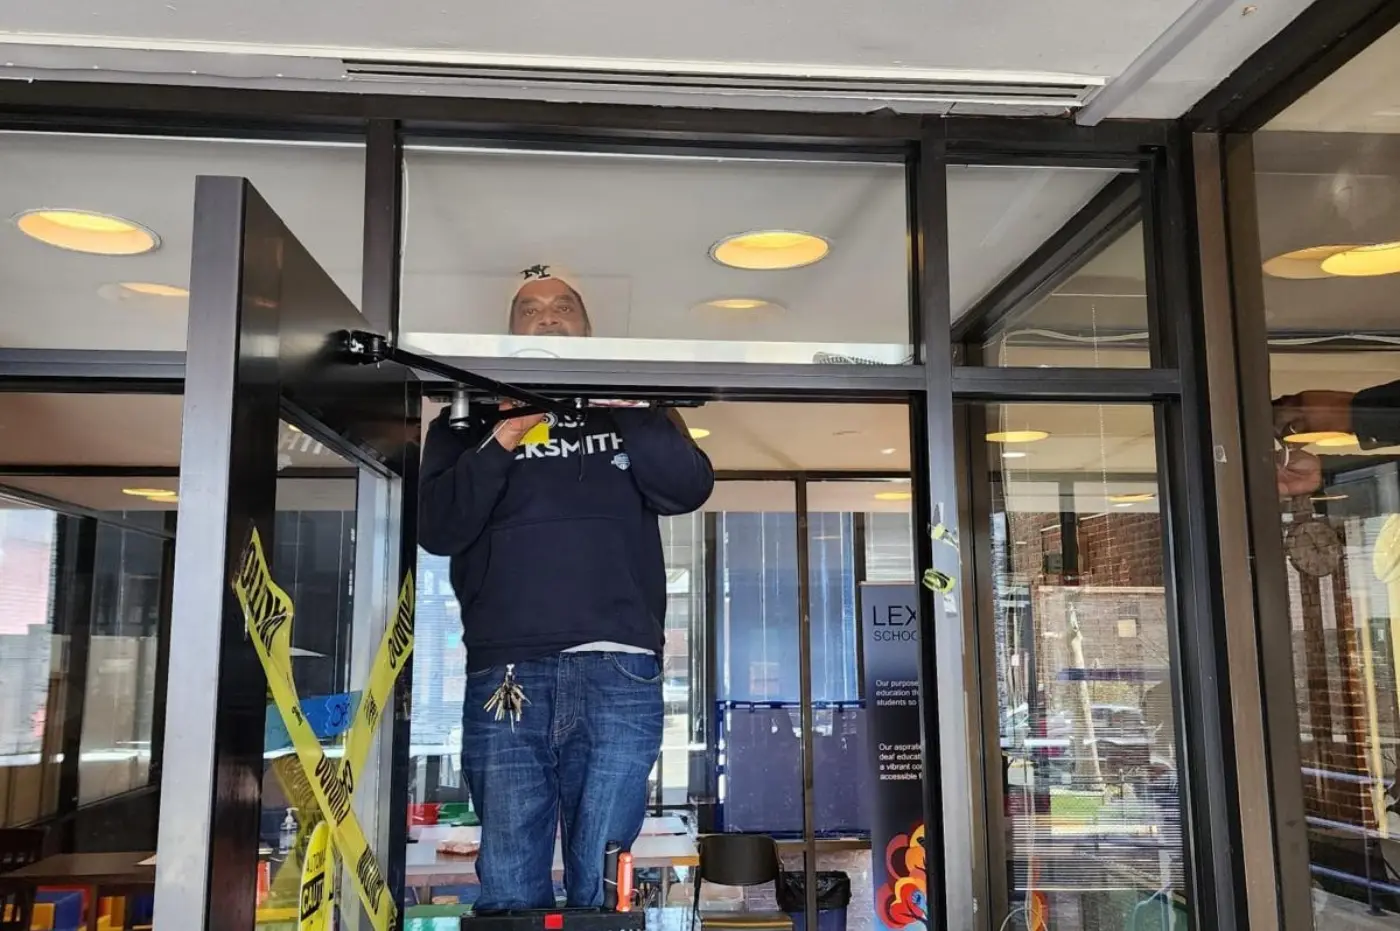
Expert Door Installation In NYC
Custom Door Fabrication & Design
Permit Support & Manufacturing Supervision
1-Year Workmanship Guarantee
Rated 4.9/5
by NYC Businesses
Expert Door Installation In NYC
Custom Door Fabrication & Design
Permit Support & Manufacturing Supervision
1-Year Workmanship Guarantee
Rated 4.9/5
by NYC Businesses
Expert Door Installation In NYC
Custom Door Fabrication & Design
Permit Support & Manufacturing Supervision
1-Year Workmanship Guarantee


Who We Are
NYC's Most Trusted Door Installation Company
Highline Doors has been keeping New York's businesses, buildings, and facilities secure for over 5 years. With 1,000+ properties served and a 4.8/5 rating, we deliver expert door installation in NYC, custom door fabrication, door repair, and full permit support – on time, on budget, and backed by a 1-year warranty.
Read More
OUR SERVICES
Door Services in New York


Our Process
Door Installation & Repair In New York – Made Simple
Step 1
Get in Touch & Tell Us What You Need
Call us or request a quote online. Tell us about your property and door requirements – we'll respond quickly, ask the right questions, and get a site visit booked.
Step 2
We Assess, Recommend & Quote
Our certified technicians visit your site, assess the job, and provide a clear, fixed quote. No hidden fees or vague estimates. You’ll get an honest plan tailored to your building.
Step 3
Expert Installation or Repair, Guaranteed
We show up on time, complete the work to the highest standard, and back every job with our 1-year workmanship warranty. You're left with a door that works & a team you can call again.
1,000+ Properties. One Team.
NYC businesses keep coming back to Highline – because we get it right the first time, every time. Our work is backed by a 1-year warranty and a reputation built job by job across all five boroughs.

1,000+ Properties. One Team.
NYC businesses keep coming back to Highline – because we get it right the first time, every time. Our work is backed by a 1-year warranty and a reputation built job by job across all five boroughs.
1,000+ Properties. One Team.
NYC businesses keep coming back to Highline – because we get it right the first time, every time. Our work is backed by a 1-year warranty and a reputation built job by job across all five boroughs.
Meet the Team
Our Group of Skilled Experts

Ari Amotz
General Manager
Co-owner and licensed locksmith with deep expertise in commercial doors, access control, and security systems across New York. Ari makes sure every Highline project is executed flawlessly.

James Long
Door Division Director
30+ years in New York. James came up through carpentry and general contracting before making doors his specialty. When James is on the job, it's done right.

Chris Ramirez
Chief Operation Officer
Grew up in a family of locksmiths. Chris brings a lifetime of hands-on expertise in commercial door systems and security – the person making sure every Highline job runs smoothly.

Tim Brockington III
Chief Technology Officer
Background in government security and systems integration. Tim ensures Highline stays ahead on compliance, technology, and operational standards.
Meet the Team
Our Group of Skilled Experts
Ari Amotz
General Manager
Co-owner and licensed locksmith with deep expertise in commercial doors, access control, and security systems across New York. Ari makes sure every Highline project is executed flawlessly.
James Long
Door Division Director
30+ years in New York. James came up through carpentry and general contracting before making doors his specialty. When James is on the job, it's done right.
Chris Ramirez
Chief Operation Officer
Grew up in a family of locksmiths. Chris brings a lifetime of hands-on expertise in commercial door systems and security – the person making sure every Highline job runs smoothly.
Tim Brockington III
Chief Technology Officer
Background in government security and systems integration. Tim ensures Highline stays ahead on compliance, technology, and operational standards.


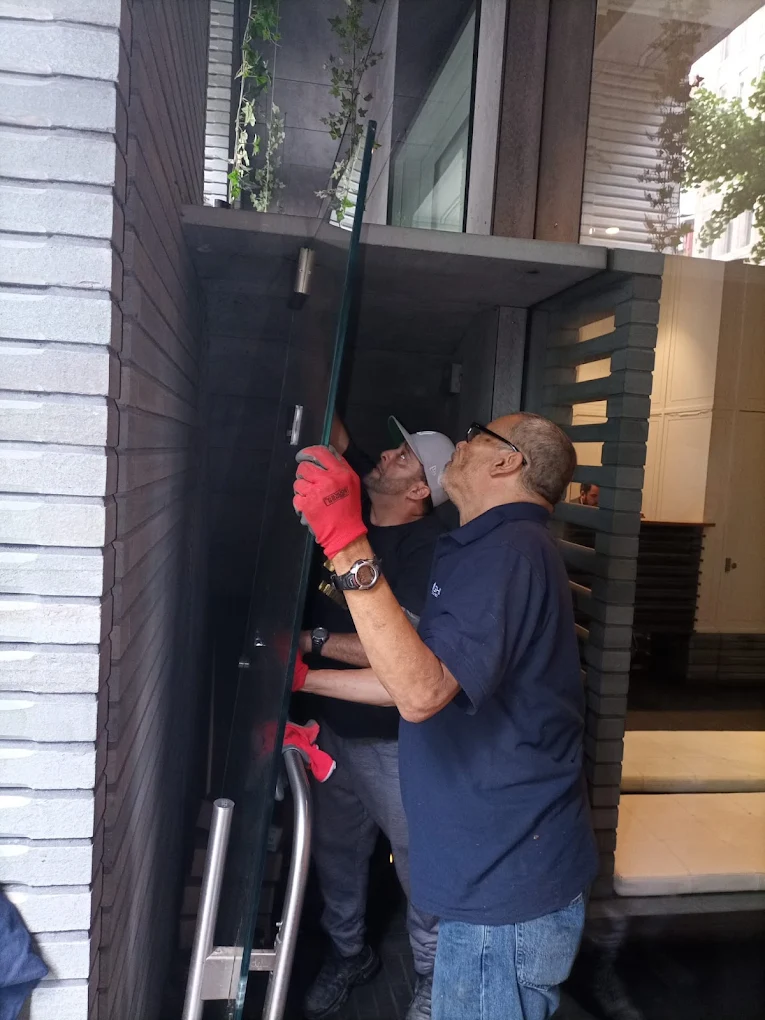
Custom Door Design & Fabrication
From bespoke specs and finishes to custom glass and hardware – we design and fabricate doors built exactly to your vision, not just what's in stock.
Custom Door Design & Fabrication
From bespoke specs and finishes to custom glass and hardware – we design and fabricate doors built exactly to your vision, not just what's in stock.
Permit Support & Manufacturing Supervision
We handle the permit process and provide manufacturing supervision, so your project stays compliant, on schedule, and to specification.
Permit Support & Manufacturing Supervision
We handle the permit process and provide manufacturing supervision, so your project stays compliant, on schedule, and to specification.
NYC Code Compliant, Every Time
Every installation meets New York City building codes and ADA requirements – no shortcuts, no comebacks.
NYC Code Compliant, Every Time
Every installation meets New York City building codes and ADA requirements – no shortcuts, no comebacks.
Door Installers NYC Trusts
From Manhattan storefronts to Bronx facilities, we've served 1,000+ NYC properties with certified door installation, repair, and custom fabrication.
Door Installers NYC Trusts
From Manhattan storefronts to Bronx facilities, we've served 1,000+ NYC properties with certified door installation, repair, and custom fabrication.
One Point of Contact, Start to Finish
No handoffs, no confusion. The same team that designs and quotes your job installs it – and backs it up.
One Point of Contact, Start to Finish
No handoffs, no confusion. The same team that designs and quotes your job installs it – and backs it up.
Fixed Quotes, No Hidden Fees
What we quote is what you pay. Transparent, competitive door installation pricing – every time.
Fixed Quotes, No Hidden Fees
What we quote is what you pay. Transparent, competitive door installation pricing – every time.
Testimonials
Our Clients Say…
Testimonials
Our Clients Say…
Testimonials
Our Clients Say…
Case Studies
Commercial Door Projects We're Proud Of

Scroll to view more

MTA
2025
MTA Clifton Maintenance Facility - Entry Door Replacement
We replaced the front entry doors at the Clifton Maintenance Facility in Staten Island. The project required the installation of custom doors along with a modern automated access system that complied with accessibility and security standards.
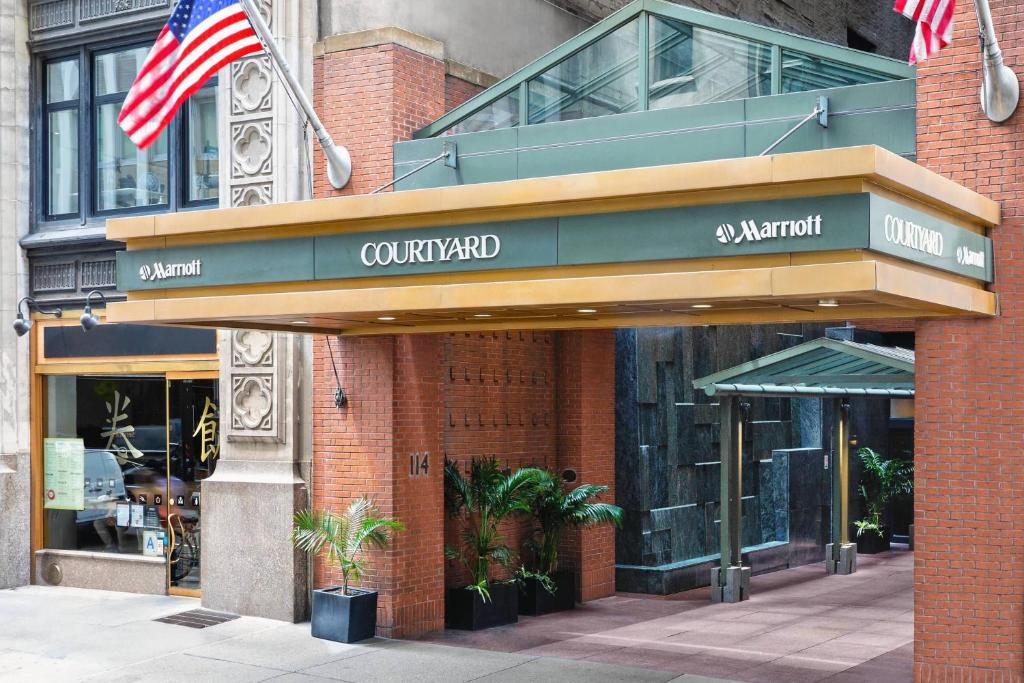
Dynamic Construction
2025
Marriot Courtyard Storefront
The scope included the installation of a new aluminum storefront, the addition of four ADA-compliant automatic operators (ED250s), and the replacement of mechanical components for a revolving door, along with the incorporation of curved glass.

Carnegie Hall
2025
Carnegie Hall - Freight Door System
Custom-engineered replacement hinges for inoperable elevator doors – restoring full functionality while meeting NYC landmark compliance requirements.
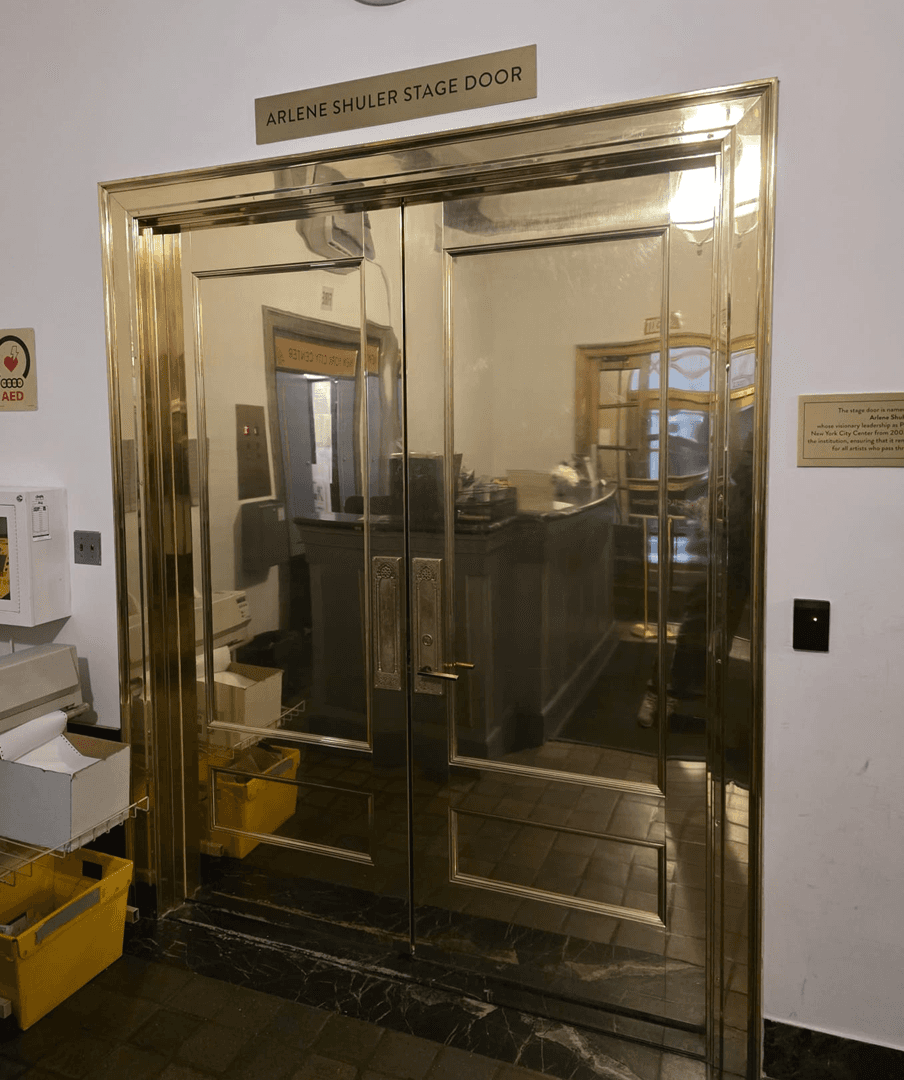
New York City Center
2024
NYCC Gilded Stage Doors
Custom-fabricated brass stage doors recreated to period-accurate detail – honoring a century-old landmark while meeting modern security standards.
Case Studies
Commercial Door Projects We're Proud Of
Scroll to view more
MTA
2025
MTA Clifton Maintenance Facility - Entry Door Replacement
We replaced the front entry doors at the Clifton Maintenance Facility in Staten Island. The project required the installation of custom doors along with a modern automated access system that complied with accessibility and security standards.
Dynamic Construction
2025
Marriot Courtyard Storefront
The scope included the installation of a new aluminum storefront, the addition of four ADA-compliant automatic operators (ED250s), and the replacement of mechanical components for a revolving door, along with the incorporation of curved glass.
Carnegie Hall
2025
Carnegie Hall - Freight Door System
Custom-engineered replacement hinges for inoperable elevator doors – restoring full functionality while meeting NYC landmark compliance requirements.
New York City Center
2024
NYCC Gilded Stage Doors
Custom-fabricated brass stage doors recreated to period-accurate detail – honoring a century-old landmark while meeting modern security standards.
Areas We Serve
FAQs
NYC Door Installation & Repair FAQs
Do you handle door installation and door repair across all of NYC?
Yes – we cover all five boroughs including Manhattan, Brooklyn, Queens, the Bronx, and Staten Island. Whether it's a single office door, a custom fabricated storefront, or a full commercial building, we come to you.
What types of doors do you install?
We install and repair all door types – glass storefront doors, aluminum doors, security doors, fire rated doors, ADA doors, industrial doors, sliding doors, and specialist doors for hospitals, hotels, schools, and offices. We also design and fabricate custom doors to exact specifications.
Do you offer custom door fabrication in NYC?
Yes, custom door design and fabrication is a core part of our service. From bespoke finishes and hardware to fully custom glass and steel fabrications, we build doors to your exact specifications and handle the full installation.
Can you help with permits and approvals?
What does your warranty cover?

Rated 4.9/5
by NYC Businesses
Need Door Installation or Repair in NYC?
Custom fabrication, certified installation & a 1-year warranty guaranteed.
Rated 4.9/5
by NYC Businesses
Need Door Installation or Repair in NYC?
Custom fabrication, certified installation & a 1-year warranty guaranteed.
Rated 4.9/5
by NYC Businesses
Need Door Installation or Repair in NYC?
Custom fabrication, certified installation & a 1-year warranty guaranteed.
Highline
Doors NYC
Highline Doors is New York City's trusted door installation and repair specialist. Serving all five boroughs with custom fabrication, certified technicians, fixed quotes, and a 1-year warranty on every job.
Services
Storefront & Entryways
Security & Safety
Industrial & Specialist
Repairs & Emergency
Links
Get in Touch
(917) 451-5391
41 Flatbush Ave, Brooklyn, NY 11217, United States
© Copyright
Highline Doors NYC. All Rights Reserved.